|
Lens Based ProjectTitle: No Playground Activities
Medium: Digital collage (Photopea) November 2023 Exhibition text: "No Playground Activities" is a digital collage created on web-based photo editor Photopea. This project allowed me to experiment with the editing tools in a beginner friendly software. I found it much easier to use than more advanced software like Photoshop because of its basic set of straightforward tools and functions. Each element of the collage represents a different tool used to edit, for the sake of experimentation. |
Process


|
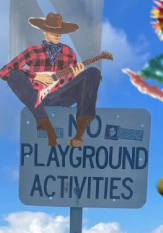
I started the collage with the image to the left, which I used as the base for the rest of the artwork. I used this because it had an aesthetic view of the city and a sign that could be interpreted metaphorically. I did not alter this image at all, and used it as the background that I would then build the rest of the collage upon.
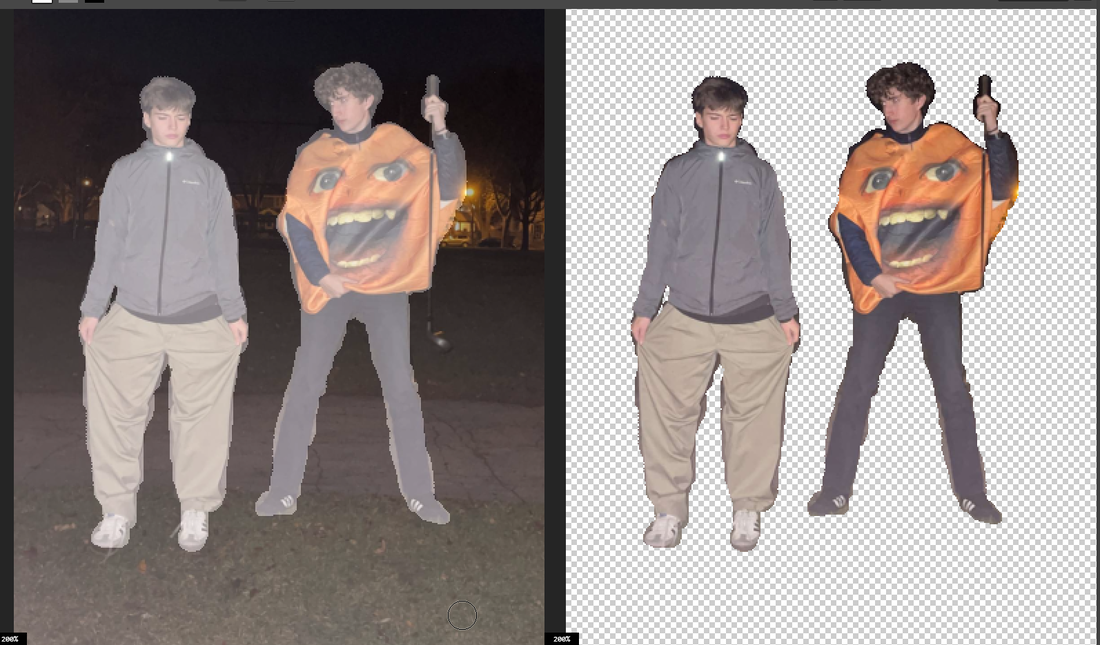
Next, I took an image of me with a friend and an Annoying Orange costume for the first subject. Here, I used the Refine Edge tool to trace the figures. Since this was my first time using this tool, the end product was fairly crude.
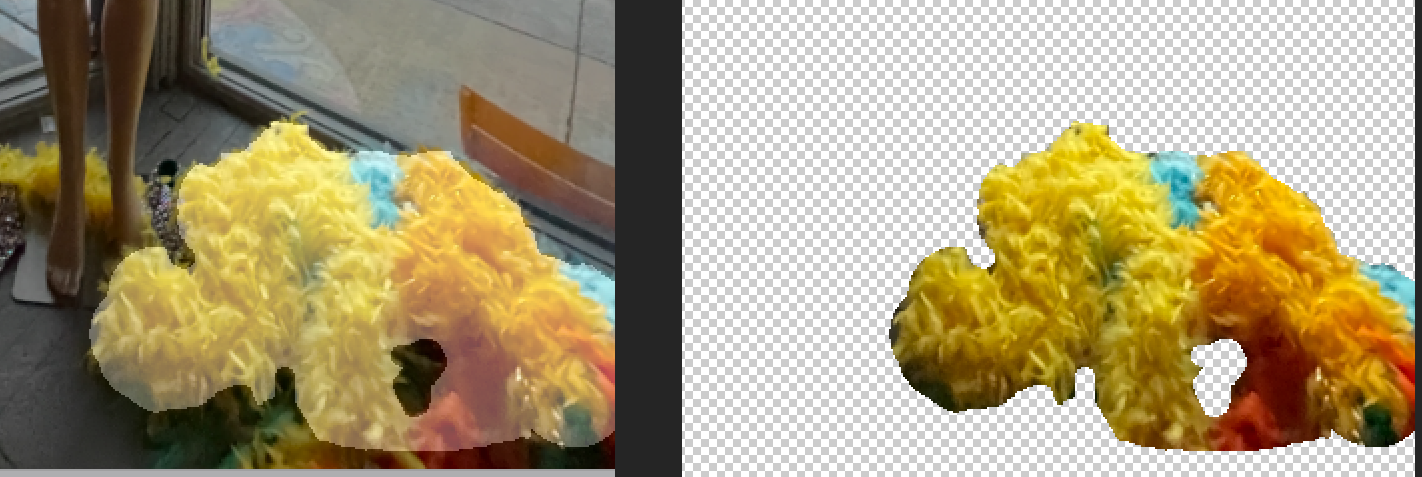
Once the previous figures were placed over the background image, I moved on to cutting out the image to the left. This was a challenge because it had intricate details in the feathers and boas. Since the subject has wings, I placed it in the sky as if it were flying. The left wing in the image was slightly obscured, so I copied the opposite wing and pasted it to match on the other side.
I felt that I would be able to apply the boas at her feet in some manner, so I cut them out with the Refine Edge tool. While doing this, I noticed that the tool could also refine the edge in the negative so that it could delete spaces that were showing some of the background of the original image. Then, I copied and pasted around 10 of the same shape, and edited them to unique sizes and orientations to create an explosion of flowers behind the flying person.
To create the illusion of motion, I used the Motion Blur tool to create the desired effect, like so. I had to individually change the motion blur for the figure, the left wing, and for each of the parts of the boas. In the future, I would spend more time to find a tool where I could select multiple layers to edit at once.
Next, I wanted to implement this image from inside the Milwaukee Art Museum in some way. I messed around with various tools including the opacity, shape, hue, etc. Finally, I decided to copy and paste multiple of the shape to create a pattern in the top left corner.
I wanted to have three figures in the foreground standing in the grass, so I also used this photo of my father flexing his arm. For this layer, I first used the Refine Edge tool to cut him out, and then I also used the Layering Arrangement tool so that it would appear as if he were standing behind the person next to him.
Finally, I paid homage to my illustration project by positioning the painted cowboy atop the sign, playing his guitar. For this layer I manipulated the hue to better match the environment.
|


Experimentation
|
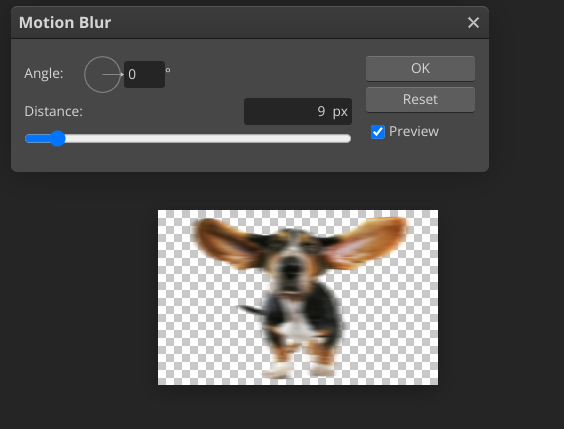
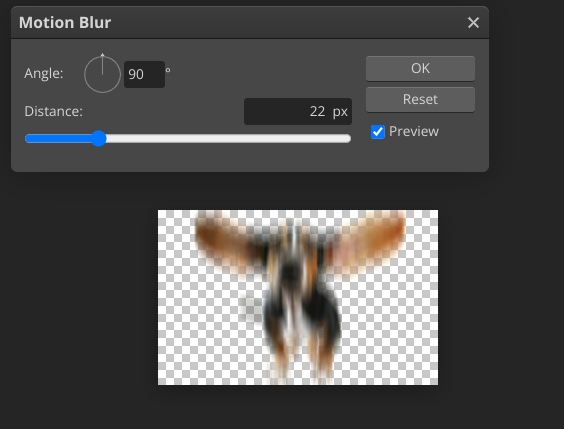
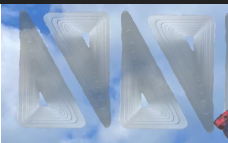
The first example of my experimentation was through the motion blur tool on the Mardi Gras mannequin. There were two adjustable aspects that I fine tuned to get the correct effect. First, the Angle function directs the direction in which the motion blur runs, to create the effect of something moving in that direction. The wheel could be rotated to point in the right direction. For my project, I directed it towards the top left because the figure was moving in that direction. The images to the right demonstrate the difference between a 0 degree angle and a 90 degree angle.
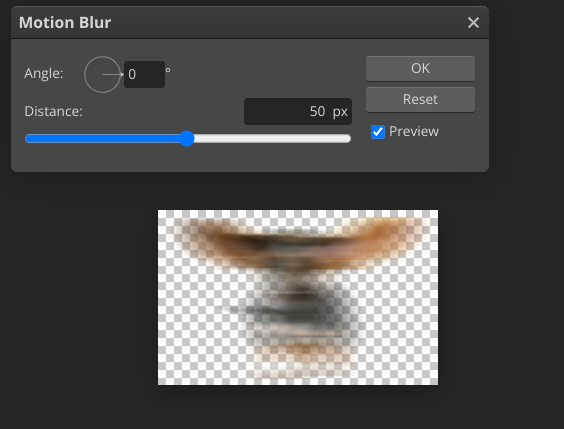
The other variable was the distance, which changes the amount of blur that is created on the image. In the context of motion, it changes how fast the object is moving. To the right are images that demonstrate the difference between 10 px of blur and 50 px.
|

|